Painting Cherries in Watercolour - step-by-step demo

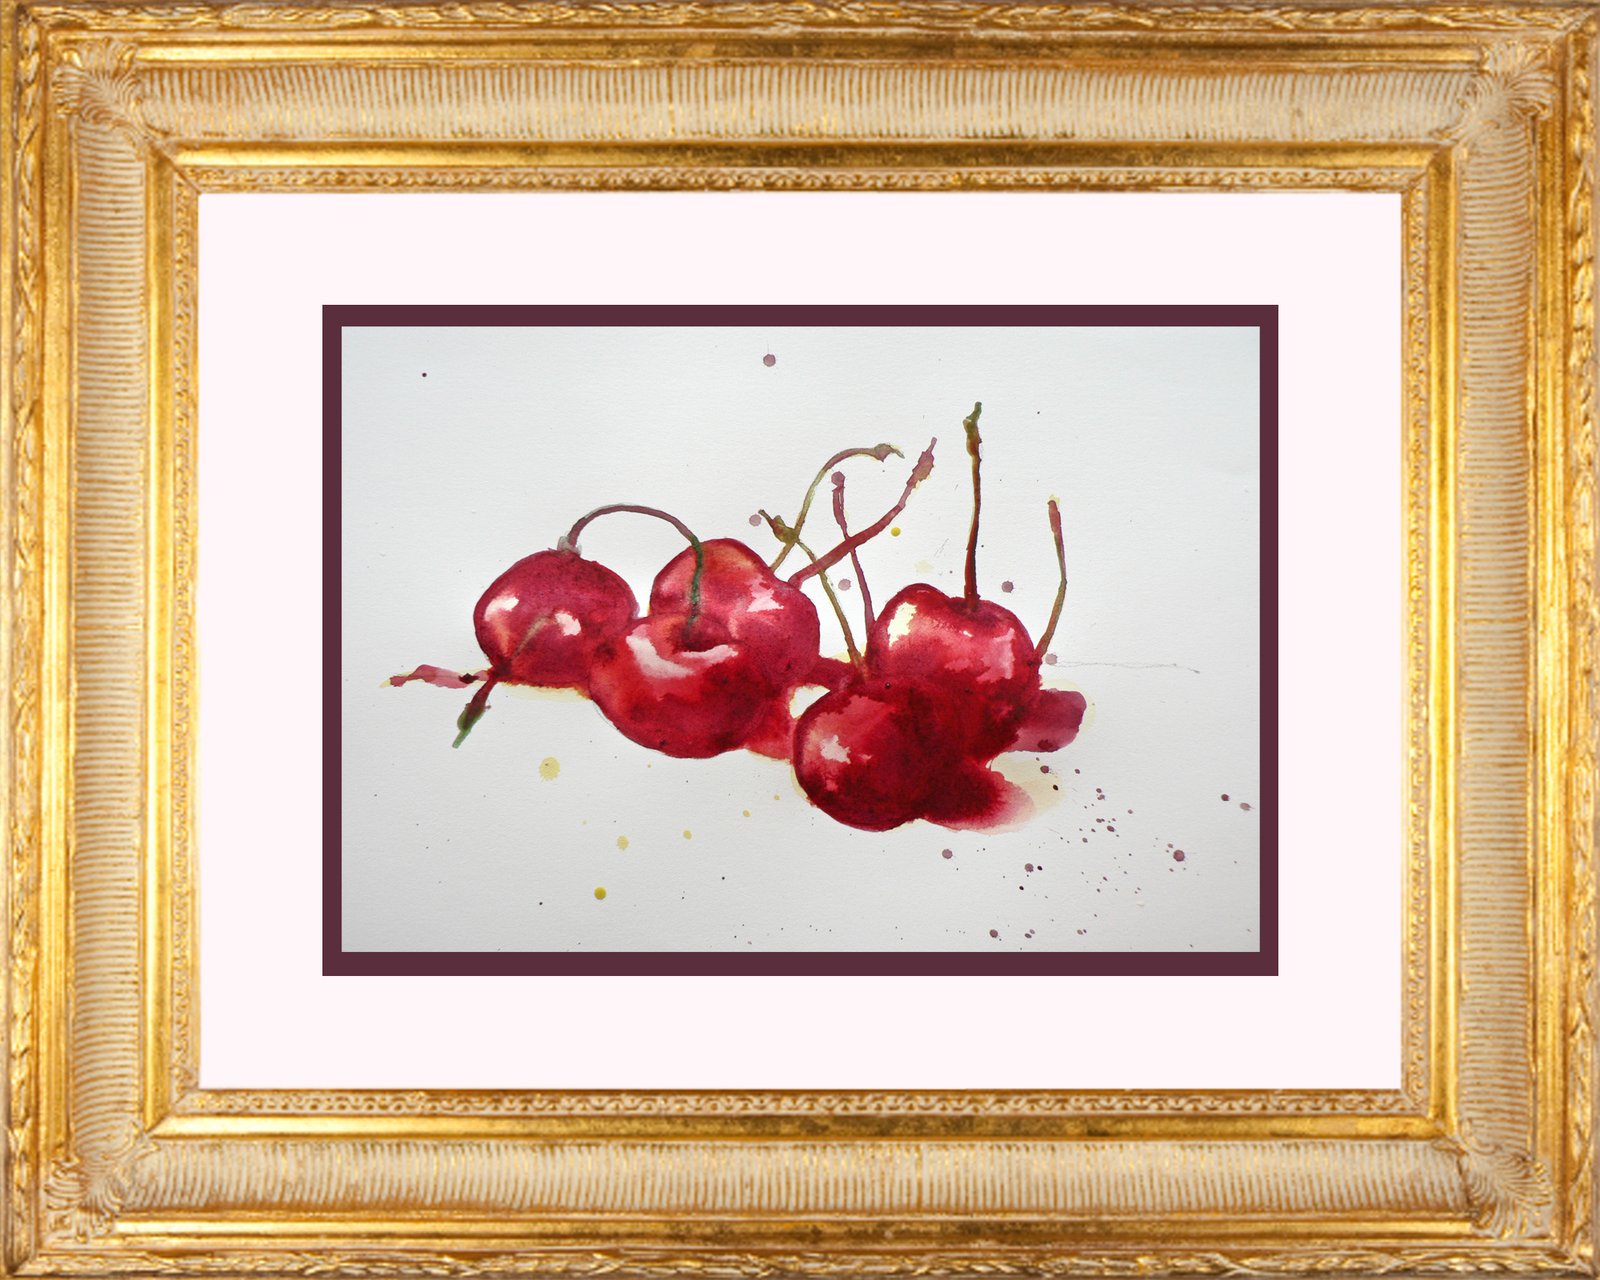
In a virtual  frame but not quite finished yet.....

In a virtual frame but not quite finished yet…..

Always a satisfying subject to paint cherries are. I love their beautiful red, claret colour and the spindly curvy stems. They make a beautiful composition no matter how you place them in readiness to paint.

Brushes at the ready but I only used a 3 and a 6 round really.

Brushes at the ready but I only used a 3 and a 6 round really.


Here is a group of 5 cherries with stems. I just used Arches hot pressed 90lbs paper and a Size 6 and a szie 3 round brush plus Cadmium Yellow Pale, Alizarin Crimson, Rose Madder Genuine, Olive Green and French Ultramarine to paint this simple study.

cherries demo

It is not finished yet as I have work to do on the shadow sides and to create more shine on the sunstruck parts of the cherries…watch this space for the final final result:)
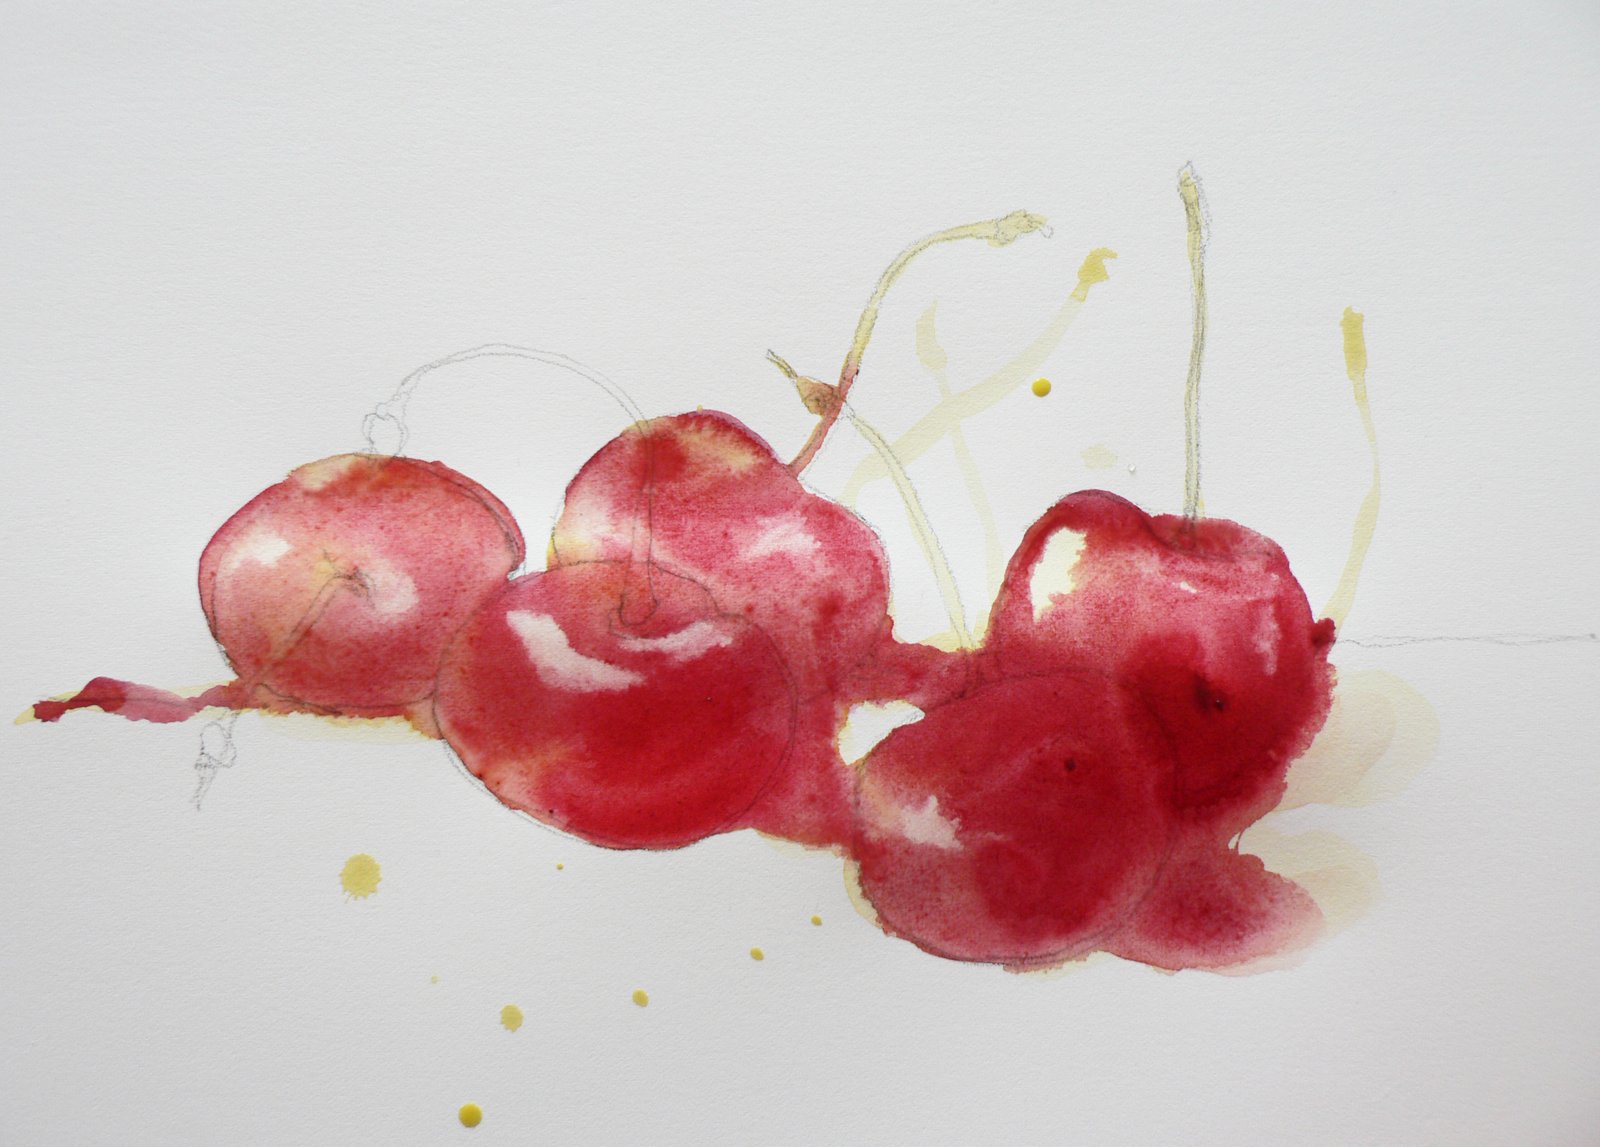
I lifted the white "shiners" out with a clean dampish brush.

I lifted the white “shiners” out with a clean dampish brush.


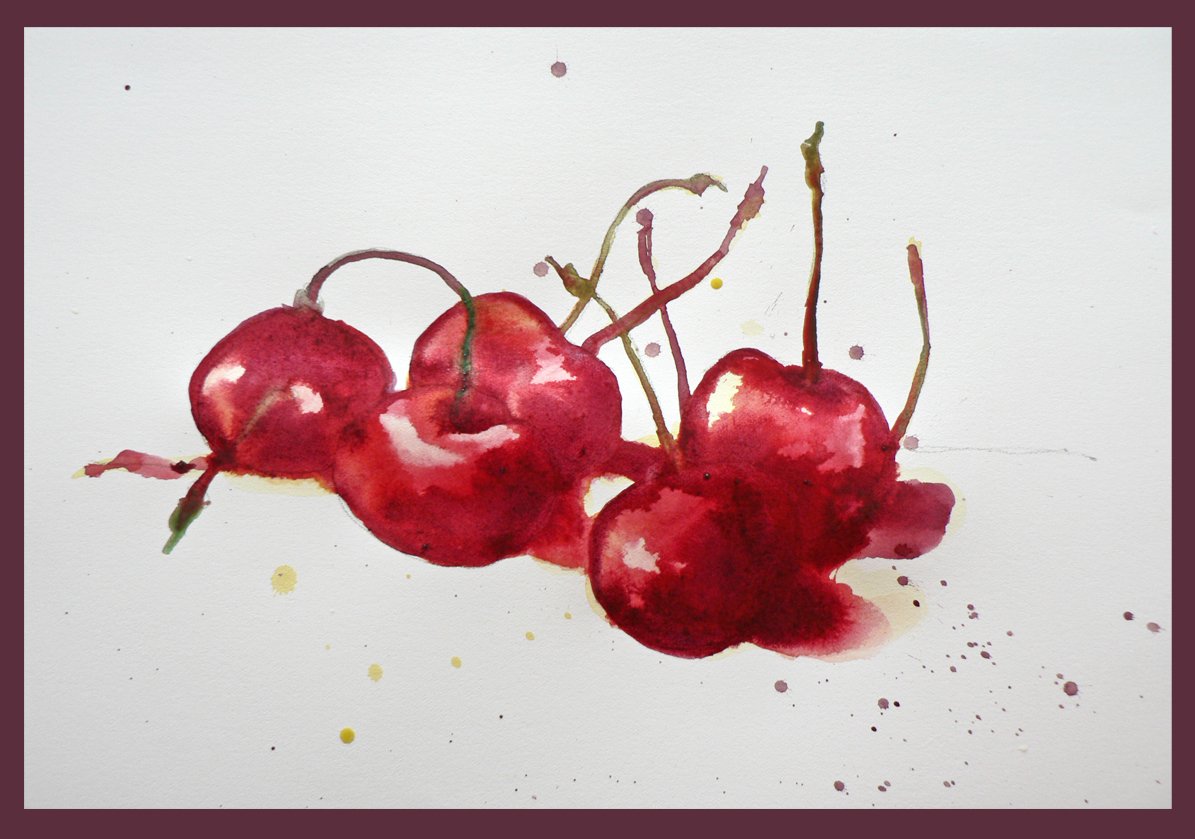
I was satisfied with this painting because it went well with the washes looking natural and the forms shaping up nicely. I relished in plunging the deep red/clarets into the wet washes to get the darkest part of the fruits shown.
cherries f


I will paint a white chicken if it kills me!

My first ever white hen

My first ever white hen

I have been prevented from painting many animals that are white - why? Because I can’t do it!
I find it very hard to paint white fur and feathers convincingly. Painting white on white watercolour paper is of course very tricky.

To quote a famous artist “With the tools of darkness he labours after light”.
But some artists manage it beautifully - so there must be a way.
I have been looking at such artists a lot lately as I am desperate to be able to paint fluffy white hens, swans, white horses and more.
So here is a head of a white chicken done today as a follow on from my post about painting fowl - here - https://eastwitching.com/2013/02/12/feeling-fowl-paint-a-chicken/

C1 copy
I limited myself to the head to see how I could do.

I used Arches hot pressed 90lbs paper, Cadmium Scarlet, Alizarin Crimson, Sap Green, Cobalt Blue, Winsor Violet a bit of Raw Sienna and Burnt Sienna for beak and eyes and for the black of the eye and nostrils I used a mix of French Ultramarine and Burnt Umber.
Brushes are size 3 and 6 rounds.
I am happy with the end result and see that I just have to leave some white space bordered by other colours. In this case the blue reflecting light of the sky and the green underside suggesting grass reflection. I am very excited about painting her whole body…watch this space.

Anyone with painting white animal tips feel free to comment!

My first ever white hen

My first ever white hen

Watercolour Demo - Fly Agaric Mushrooms 2nd Part

framed mushrooms
OK - for those painters of you who are sitting there with paintbrush in mid-air waiting to get at those mushrooms again here are the next steps!


(Here is Part 1 - https://eastwitching.com/2013/02/09/art-demo-watercolour-fly-agaric-mushrooms/

But first - here is how they have ended today after the work I did on them this afternoon…I popped them in a virtual frame to give them that magical space that all art needs.
qqqqqqq
Please click on the images as they will come up nice and big for you to see.
Q1
I read somewhere that the art of good painting is knowing where to stop and that a painting can be interesting at several points in its creation.
Q2 small
I just hope I’ve picked the right place to get off!
Q3 small

Art Demo - Painting a Young Stag in Watercolour

Now that I have my drawing I am ready to add the initial washes.

I use a 3 and a 6 round sable brush, Raw Sienna, Burnt Sienna, Sap Green, Cobalt Blue and my paper is Arches Hot Pressed 90lbs 100% rag.

Please click on the image below as it will come up nice and big and you can read what I did.
Stag part 1
At this stage he doesn’t look too pretty or to coherent but when he dries thoroughly overnight I will be adding the further washes which will unify and warm him and then these blotchy blocks will form the underneath of his head structure and create form.

P1120673
I added cooler notes of blues to the top of head, antlers and ears and top of nose as these planes reflect the blue-tinged light of the sky.

P1120674
Under his ears I added green as these are reflecting the grass underneath him.

I add these cooler notes to off-set the warm siennas and to create a believable form with the warm and cool light plans. Any planes of his face that catch the warm light bounce or the green grass light bounce from the ground will be coloured accordingly.

Anything catching the blues of the sky will be painted blue or purple. See an example of this with this little zebra I painted. Her belly is warm red/orange reflecting the desert earth and on her shoulders is a swathe of blue to reflect the sky light.

zebra baby etsy
Here is a finished Stag painting I completed last year - I enjoy the drama of painting antlers! Watch this space for the continued young stag demo….

stag snow COPYRIGHT

How to Paint a Watercolour Crab

Here we go - for those who want to know how to paint a crab in watercolour -

Here I am using a size 3 round brush to add some New Gamboge yellow to his foreclaw to suggest sunlight

I drew the outline of the crab then painted his entire surface with clean water. This gets the paper ready to accept splashy and watery colour to good effect.

Then I banged in some teal blue and let it run - I tip the paper this way and that and let the medium do it.

The first 4 steps…roughly - it is very hard to paint and photograph myself at the same time!

As it starts to dry a I then went back in to darken shadow areas and start to build form. Finally - when totally dry I add the detail work and spatter - viola. Only problem is I forgot one leg!!!!

Here we have a crab with the correct amount of legs created into a cute pillow -

Crab throw pillow

To see my range of crab artwork that I have in my online gallery - please click here - enjoy!

The last 4 steps. Due to being overly worried about taking shots of myself painting I forgot one of his legs.

How to Paint a Watercolour Crab

Here we go - for those who want to know how to paint a crab in watercolour -

Here I am using a size 3 round brush to add some New Gamboge yellow to his foreclaw to suggest sunlight

I drew the outline of the crab then painted his entire surface with clean water. This gets the paper ready to accept splashy and watery colour to good effect.

Then I banged in some teal blue and let it run - I tip the paper this way and that and let the medium do it.

The first 4 steps…roughly - it is very hard to paint and photograph myself at the same time!

As it starts to dry a I then went back in to darken shadow areas and start to build form. Finally - when totally dry I add the detail work and spatter - viola. Only problem is I forgot one leg!!!!

To see my range of crab artwork that I have in my online gallery - please click here - enjoy!

The last 4 steps. Due to being overly worried about taking shots of myself painting I forgot one of his legs.

Art Demo - Watercolour Crab

Here we go - for those who want to know how to paint a crab in watercolour -

Here I am using a size 3 round brush to add some New Gamboge yellow to his foreclaw to suggest sunlight


I drew the outline of the crab then painted his entire surface with clean water. This gets the paper ready to accept splashy and watery colour to good effect.


Then I banged in some teal blue and let it run - I tip the paper this way and that and let the medium do it.

The first 4 steps…roughly - it is very hard to paint and photograph myself at the same time!

As it starts to dry a I then went back in to darken shadow areas and start to build form. Finally - when totally dry I add the detail work and spatter - viola. Only problem is I forgot one leg!!!!

The last 4 steps. Due to being overly worried about taking shots of myself painting I forgot one of his legs.